Vex v5 Controller API
This document goes over the use of the v5 controller, and provides some examples of use.
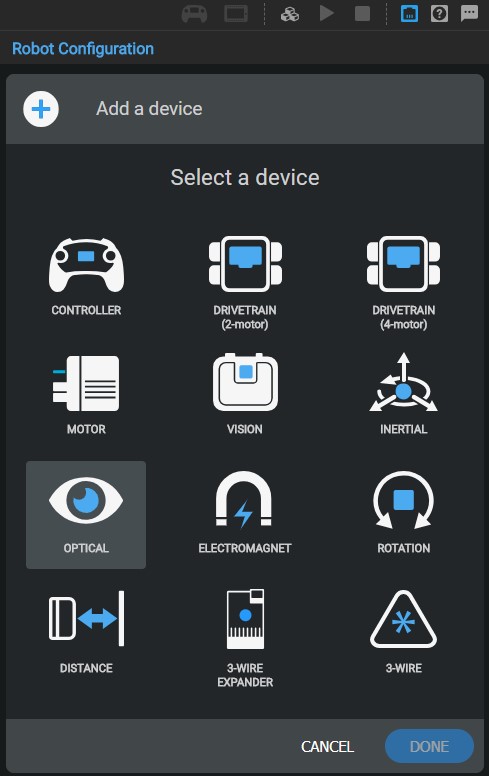
Configuration
Adding Controllers
Up 2 two controllers may be used simultaneously for driving a v5 robot. One controller needs to be set up as primary and the second as partner. Using the “Add Device” from VEXCode is the easiest way to set up controllers. The first controller added this way is always Controller1 and the primary. The second is Controller2 and the partner.
Controller Input
Joysticks
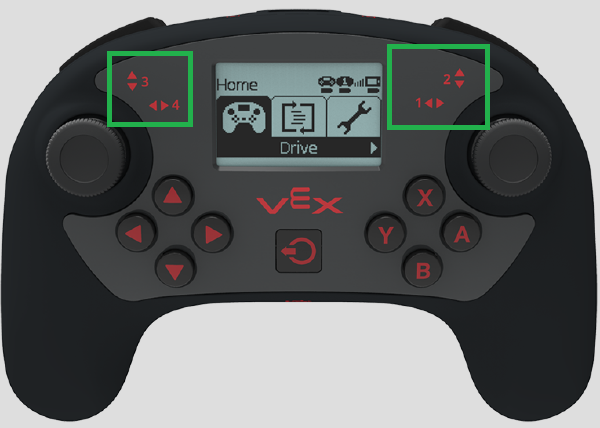
The 2 joysticks have axes which are referenced by a number, which is found on the controller. The value is a whole number in the range -100 to 100. These values are a perecnt mapping and postive 100 is full forward or right on any axis.
Axis Position
This method will give the value of any one of the 4 joystick axes.
controllerName.axisName.position();
// finds the value of the position of Axis 1 (right stick, left-right position) on the primary controller.
// switch the name of the controlleer to reference partner
// switch the name of the axis to reference another stick/axis; see image above
Controller1.Axis1.position(); // this code reads the input but doesn't do anything with it

// spins left drive motor based on the forward-backward position of the left joystick
// here the direction for the spin command should always be fwd
// joystick position will give a negative value when pulled back and negative fwd is rev
// the drive motor speed will be determined by the axis position, where neutral wont spint he motor
LeftMotor.spin(directionType::fwd, Controller1.Axis3.position(), velocityUnits::pct);

// we can also collect the input of the axes and store them in a variable
// using an int is ideal because position is a whole number
// "currentPosition" will store the vlaue of the left-right position of the left stick
int currentPosition = Controller1.Axis4.position();
Scaling Axis Position
Sometimes it may be necessary to scale back or smooth out the position value of the joystick. This can be achieved through math, because the position value is a number, we can make it part of an expression.
// store the fwd-rev position on the left stick divided by two
// spin the right motor based on the stored value, maxed out now to 50% motor speed each way
int rightSpeed = Controller1.Axis3.position() / 2;
RightMotr.spin(directionType::fwd, rightSpeed, velocityUnits::pct);
Buttons
There are 12 total buttons on the controller and, like the axes, they are referenced by name as well. These names can be found on the actual buttons of the controller.
Button inputs are read as boolean (binary) inputs of true or false, and not as a range of numbers like the axes.
Button State
This command will give the state of any 1 button, where true indicates it was being pressed at the time the command is executed and false if it was not.
controllerName.buttonName.pressing();
// store true or false, whether or not the button was being pressed, true = pressed
bool pressed = Controller1.ButtonA.pressing();

// note that the value of "pressed" at this line in the code will not change even if the button state has changed
// in other words pressing() command will give you the instantaneous state of the button in time

// if button R1 is pressed then spin a motor, otherwise stop the motor
if(Controller1.ButtonR1.pressing()) {
    motor1.spin(directionType::fwd, 50.0, velocityUnits::pct);
}
else {
    motor1.stop();
}